
I blogged about how saddle valves are illegal products in Minnesota nearly five years ago on my web site, but it's time for an update on that topic with some more information.

To start, that's a saddle valve pictured at right. These are devices that allow for a very fast, cheap, do-it-yourself installation of a ¼" water supply line, typically used to supply water to ice makers and whole-house humidifiers.
Saddle valves are installed by tightening a metal clamp onto a water pipe, then tightening down a needle valve until it pierces the water pipe. No cutting of pipes is required, no soldering, no special tools… simple. Very DIY. The needle just pokes a hole in the pipe, and I've heard it can be done without even turning off the water... not that I've ever tried. There has to be a catch, right?
There is. These saddle valves are prone to leakage, and they're not allowed by the Minnesota State Plumbing Code.


There is actually nothing in the Minnesota State Plumbing Code that specifically prohibits these types of valves; they're just not approved. Section 4715.0420 of the MN State Plumbing Code gives a list of approval standards. Saddle valves don't have one.
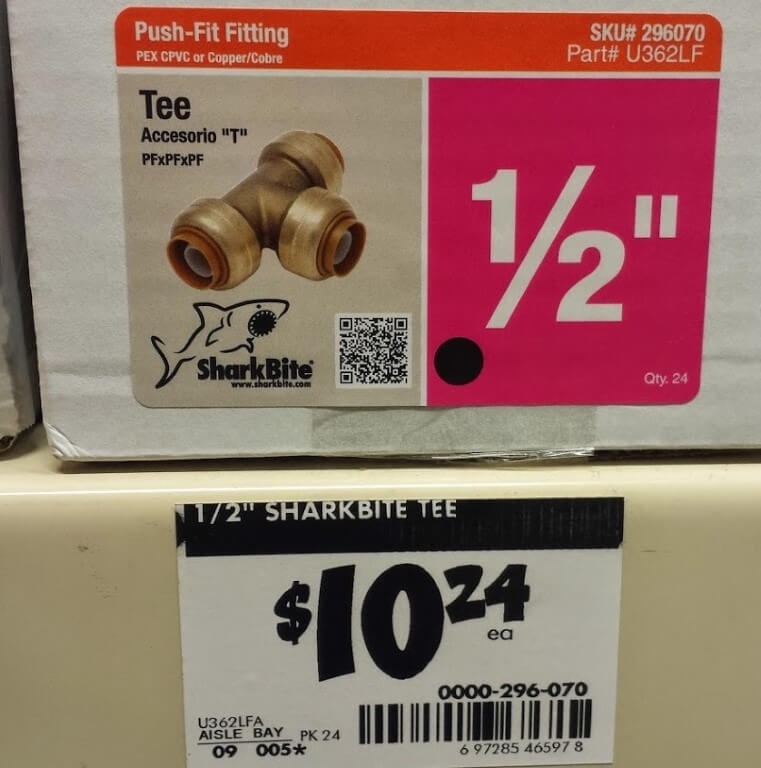
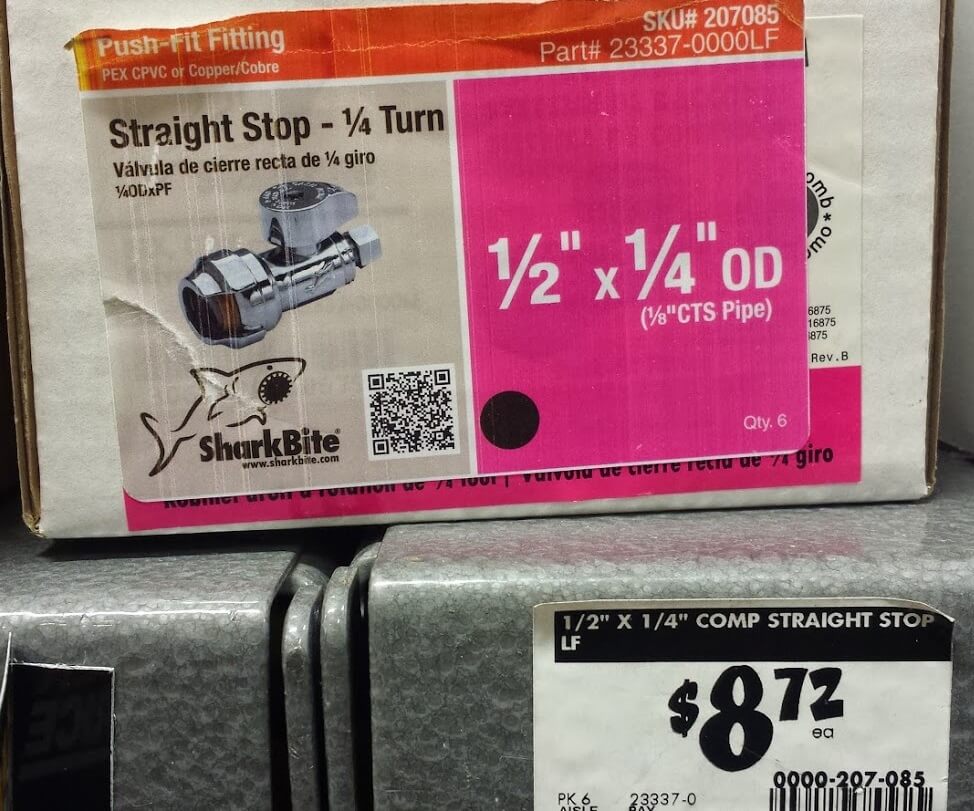
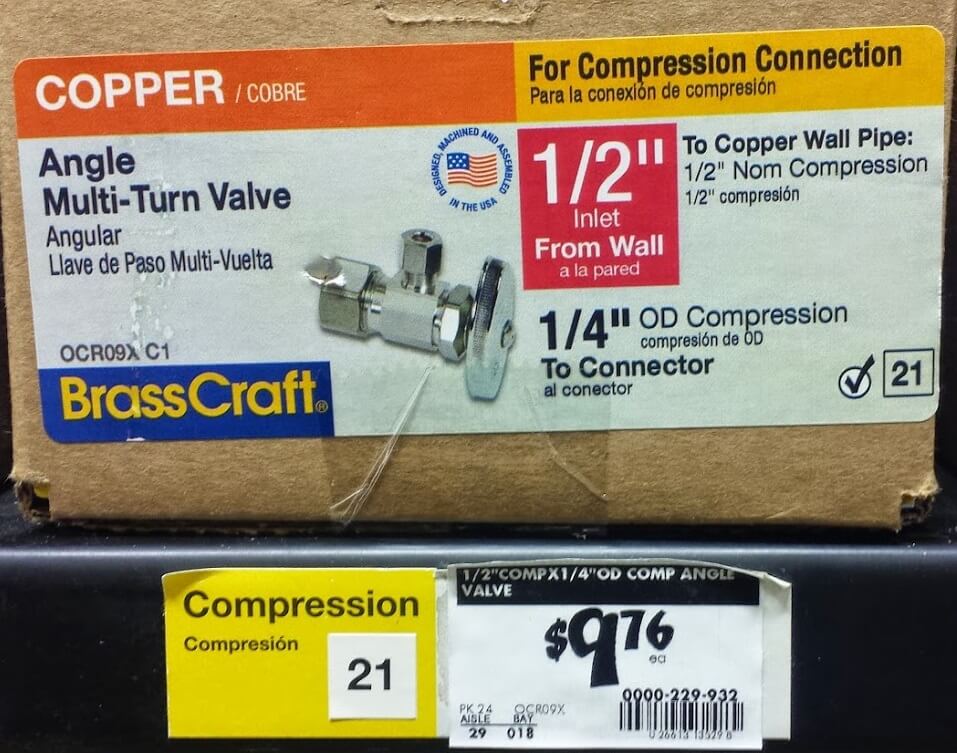
Most of them don't leak, but they have a much higher chance of leaking than a properly installed water valve. My advice is to not use saddle valves. When installing an ice maker or whole-house humidifier, tap off of an existing water line with a proper tee fitting and have a proper shutoff valve installed. It will take a little more time to do it right, but you'll dramatically lower the potential for leaks.
If you already have a saddle valve in your home, try to leave it alone. Every time you operate the valve, you increase the potential for a leak. If you already have a saddle valve installed and you'd like to replace it with a proper stop valve, read on.
How to replace a saddle valve

There has been a saddle valve installed for the ice maker at my own house since I moved in over four year ago. I haven't touched it and it hasn't leaked, but I thought this would make for a nice little project where I could lay out the basic steps of replacing a saddle valve. This isn't a full how-to, however; I'm just laying out the basic steps that are involved.


