The year was 2002, and I was gleefully unwrapping an ice cream maker that someone had graciously given me as a wedding present. Yes, I had registered for it, but it was still thrilling holding that box, imagining all the ice cream I was going to make for friends and family in our new little apartment. However, not much ice cream was made in this shiny new machine, because before I had time to learn how to use it, I had discovered no-churn ice cream.

No-churn ice cream has been around for decades, in modern magazines and vintage cookbooks alike, with variations all over the place. This ice cream is different from "regular" ice cream, which often requires egg yolks, heavy cream, milk, sugar and an expensive ice cream maker. The no-churn method, on the other hand, is simple: fold 2 cups of whipped cream into one 14-ounce can of sweetened condensed milk and freeze until firm. You can honestly get by with using just those two ingredients. However, it is more fun (and delicious) to add other ingredients.

In my experimenting, I've found a few extra ingredients really make this ice cream special. First, adding some salt helps cut the sweetness, since a whole can of sweetened condensed milk has quite a bit of that. Cream cheese adds much needed tang, which lends to balancing out that sweet flavor and helps keep the ice cream smooth when it is frozen. A hefty tablespoon of vanilla adds deep flavor, and my favorite flavors have some added acidity (such as coffee or blood orange juice) to help cut the intense richness.

While I've made all different kinds over the years that I love — chocolate, vanilla, olive oil, mint, pumpkin, espresso — today I have made for you an extravagant no-churn peanut butter ice cream loaf cake that is perfect for both lazy summer days and national holidays.

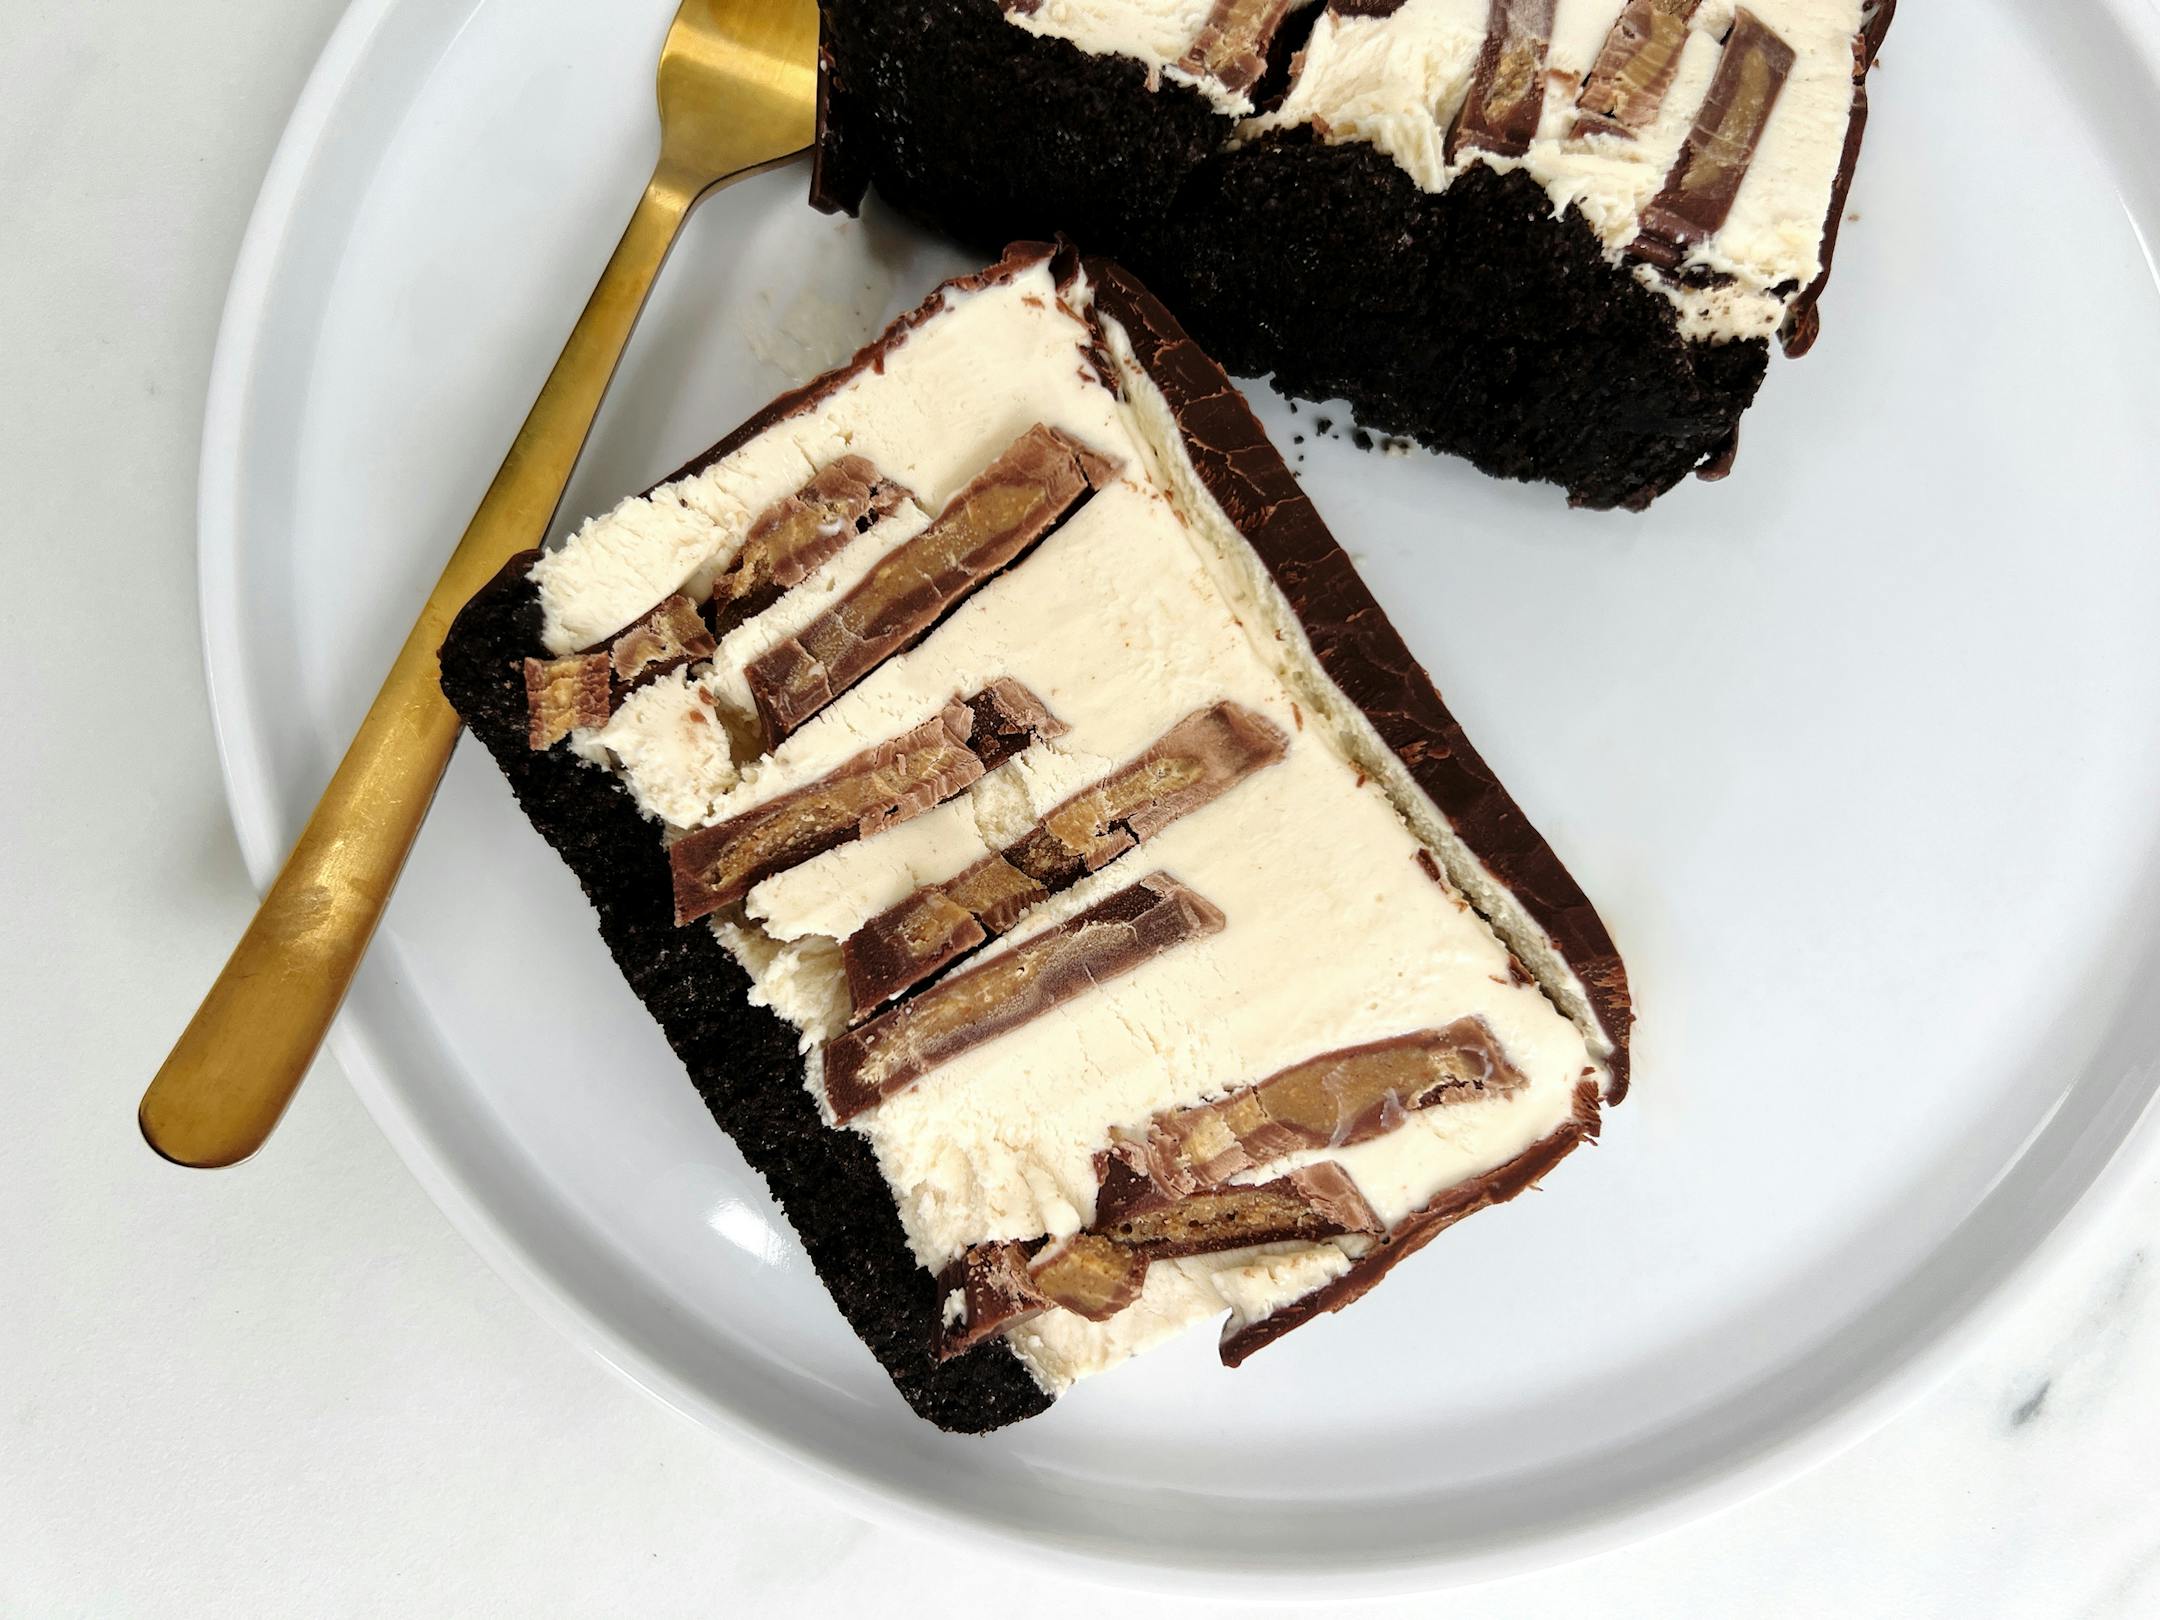
No-Churn Peanut Butter Ice Cream Cake

Serves 10.

This ice cream cake is very rich, and a little bit goes a long way. If all the steps seem like too much, you can always just make the ice cream solo (no crust and magic shell) and it will still be very delicious. The cake will need to freeze for at least six hours before serving. From Sarah Kieffer.

Crust:

• 2 c. (200 g) Oreo thins, or other chocolate wafer cookie

• 4 tbsp. (57 g) unsalted butter, melted

Peanut Butter No-Churn Ice Cream:

• 1 (14-oz., 397 g) can sweetened condensed milk

• 1/3 c. (108 g) creamy peanut butter

• 1 tbsp. pure vanilla extract

• 3/4 tsp. lemon juice

• 1/4 tsp. salt

• 2 oz. (57 g) cream cheese, at room temperature

• 2 c. (480 g) heavy cream

• 16 Reese's peanut butter cups, optional (see Note)

Chocolate shell:

• 2 c. (340 g) semisweet chocolate chips

• 1/3 c. (75 g) refined coconut oil or shortening

Directions

Line a 9-by-4-by-4-inch Pullman pan, or a 9-by-4-inch loaf pan with a parchment paper sling.

For the crust: Place the cookies in a bowl of a food processor and process until broken down into fine crumbs. Move the crumbs to a medium bowl and pour the melted butter over the top. Use a spatula to stir together until combined. Press the mixture into the bottom of the prepared pan.

For the ice cream: In a large bowl, whisk together the sweetened condensed milk, peanut butter, vanilla, lemon juice and salt until completely combined.

In the bowl of a stand mixer fitted with a whisk, beat the cream cheese on medium speed until smooth. Turn the mixer to low and add the heavy cream in a slow, steady stream, mixing until combined. Increase the speed to medium and whisk until stiff peaks form, 4 to 6 minutes.

Add half of the whipped cream mixture to the sweetened condensed milk mixture and whisk until completely combined. Using a rubber spatula, gently fold in the remaining whipped cream mixture until no streaks remain. If using chopped up peanut butter cups, add them now and stir (see Note). Pour the ice cream mixture evenly over the crust in the prepared pan.

If using whole peanut butter cups as pictured (I used Reese's Thins), carefully place them into the ice cream in four rows of four across. Place the ice cream into the freezer and freeze until firm, 6 hours or, covered, up to 1 week.

For the chocolate shell: Place the chocolate chips and the coconut oil in a large liquid measuring cup or other microwave-safe dish. Microwave on high 30 seconds. Stir. Repeat until the mixture is melted and completely smooth. Use immediately.

To assemble: When ready to serve, place a wire rack over a sheet pan lined with parchment paper. Using the parchment sling, remove the ice cream cake from the pan, remove the parchment paper, and place on the prepared pan. Pour all of the warm magic shell over the cake, letting it cascade down the sides to completely cover them. The magic shell will set quickly. Carefully move the ice cream cake to a serving plate if desired and slice into pieces. Serve immediately. Leftover ice cream cake can be stored in a freezer-safe container in the freezer for up to 1 week.

Note: Cutting up the peanut butter cups (vs. sliding them in whole) makes for an easier time cutting the cake. For a less rich cake, the peanut butter cups can be omitted.

Sarah Kieffer is a Minnesota baker, cookbook author and creator of the Vanilla Bean Blog. Follow her on Instagram at @sarah_kieffer.