
Without a doubt, the sexiest new siding being used on the front of houses is stone siding. I say stone siding because that's what everyone calls it, but what I'm really referring to is Masonry Veneer. This is a man-made product that's meant to look like stone siding, and is installed in a similar manner to stucco.
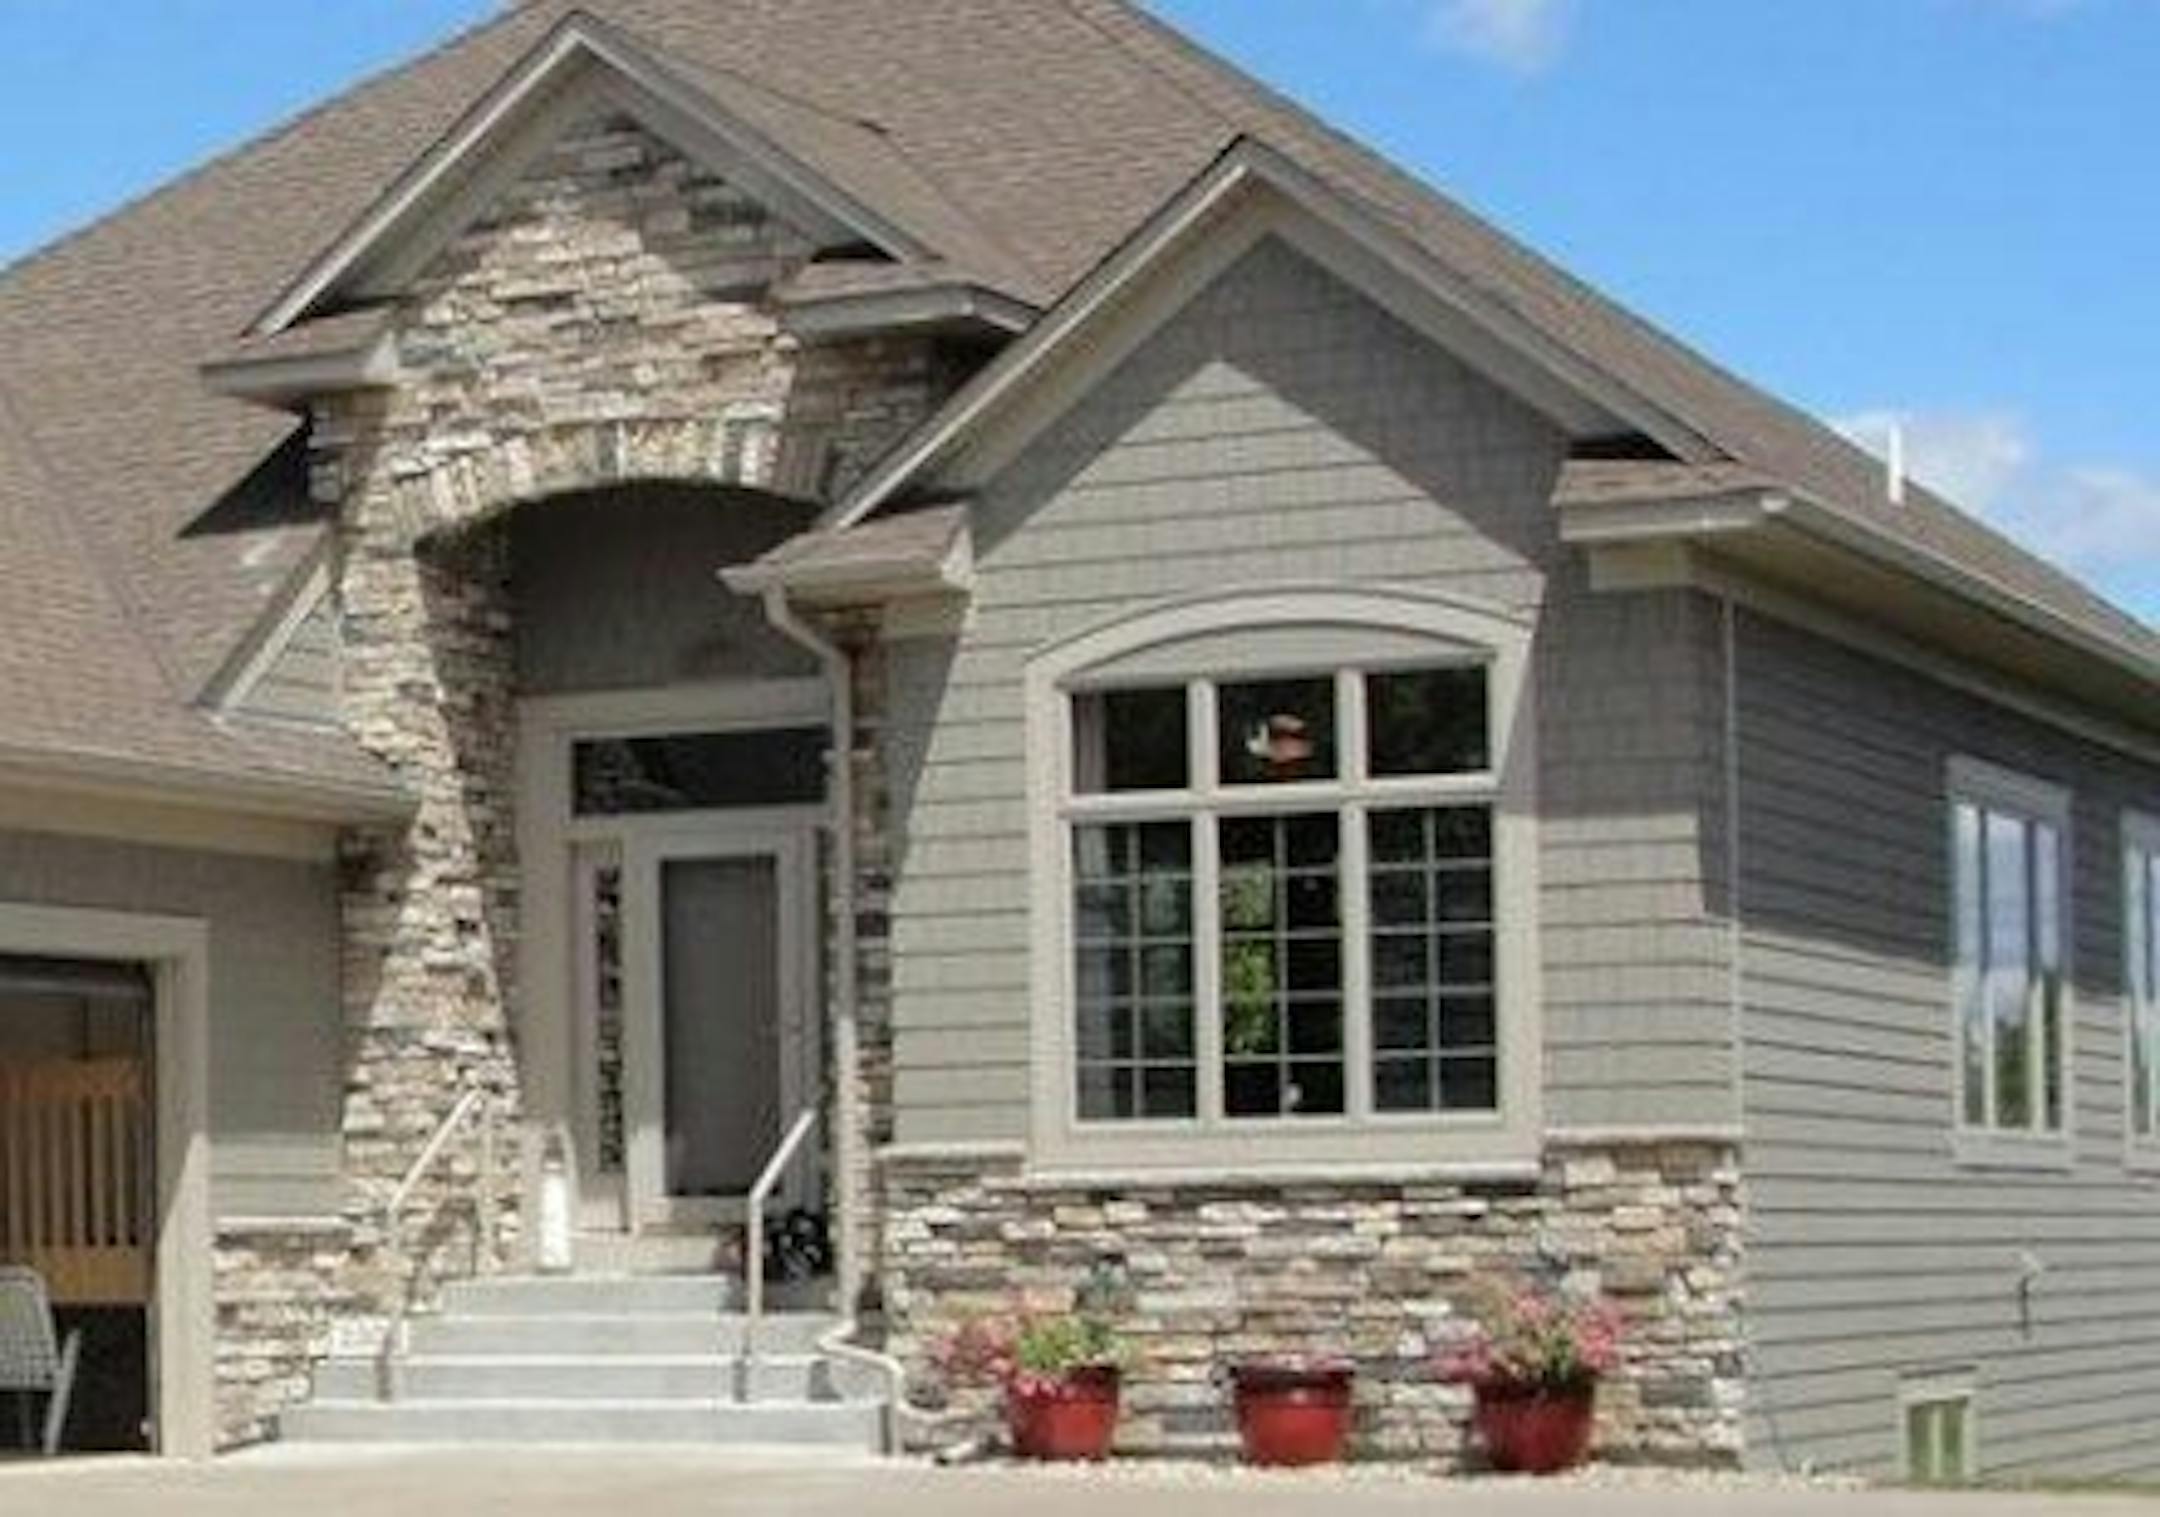
While masonry veneer looks great, it's susceptible to the same moisture problems that stucco is. Moisture testing experts in the Twin Cities agree that this product has experienced the exact same type of moisture intrusion problems as stucco. Building science expert Dr. Joseph Lstiburek actually calls this product "lumpy stucco," because that's essentially what it is.
While newer stucco installations are done quite well, the folks installing masonry veneer seem to have a lot of catching up to do on proper installation details. When I inspect masonry veneer, I use the Masonry Veneer Manufacturers Association's installation guide, which you can find here - MVMA installation guide. This guide is packed with diagrams showing how to install the material, based on generally accepted methods.
I find the same installation shortcomings over and over. To help illustrate these issues, I've taken several installation diagrams from MVMA's guide and edited them down to more clearly illustrate where the installations went wrong. As a home inspector, I don't get to see all the different layers of materials that get installed behind the masonry veneer; my inspection is limited to what I can see on the surface, and that's what I report on. To make the installation diagrams easier to understand, I've removed the labels of all the components that aren't visible during the course of a home inspection.
Too close to grade or hard surfaces
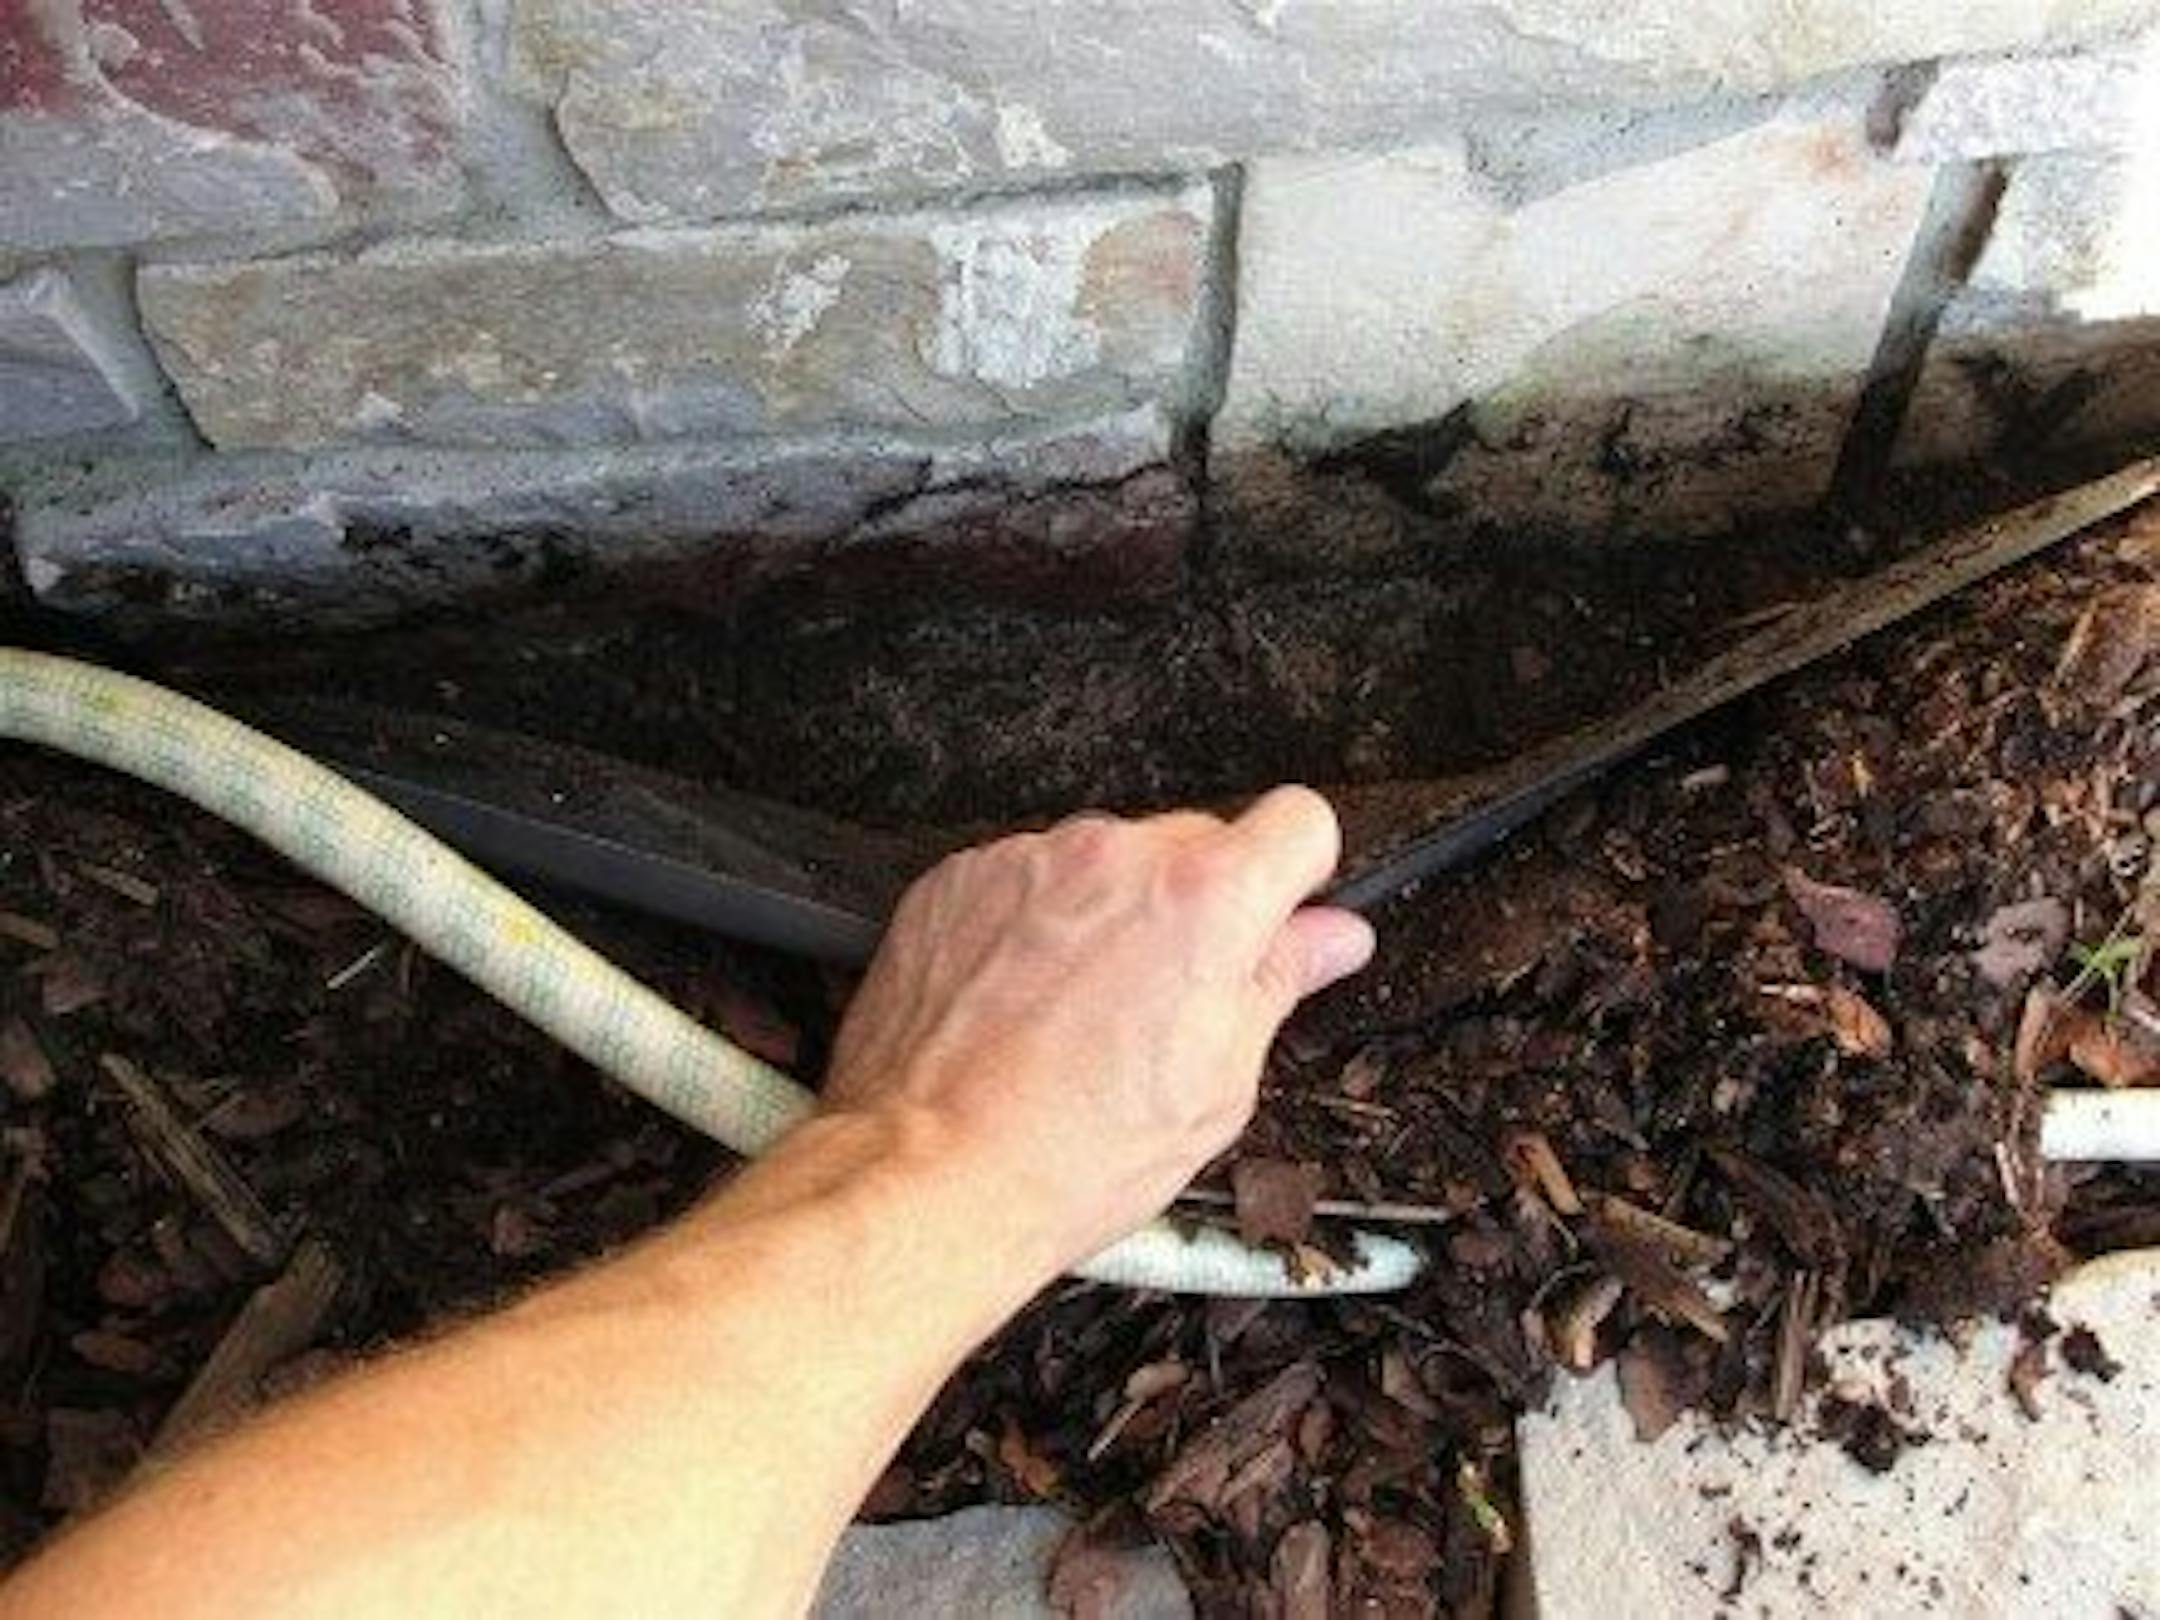
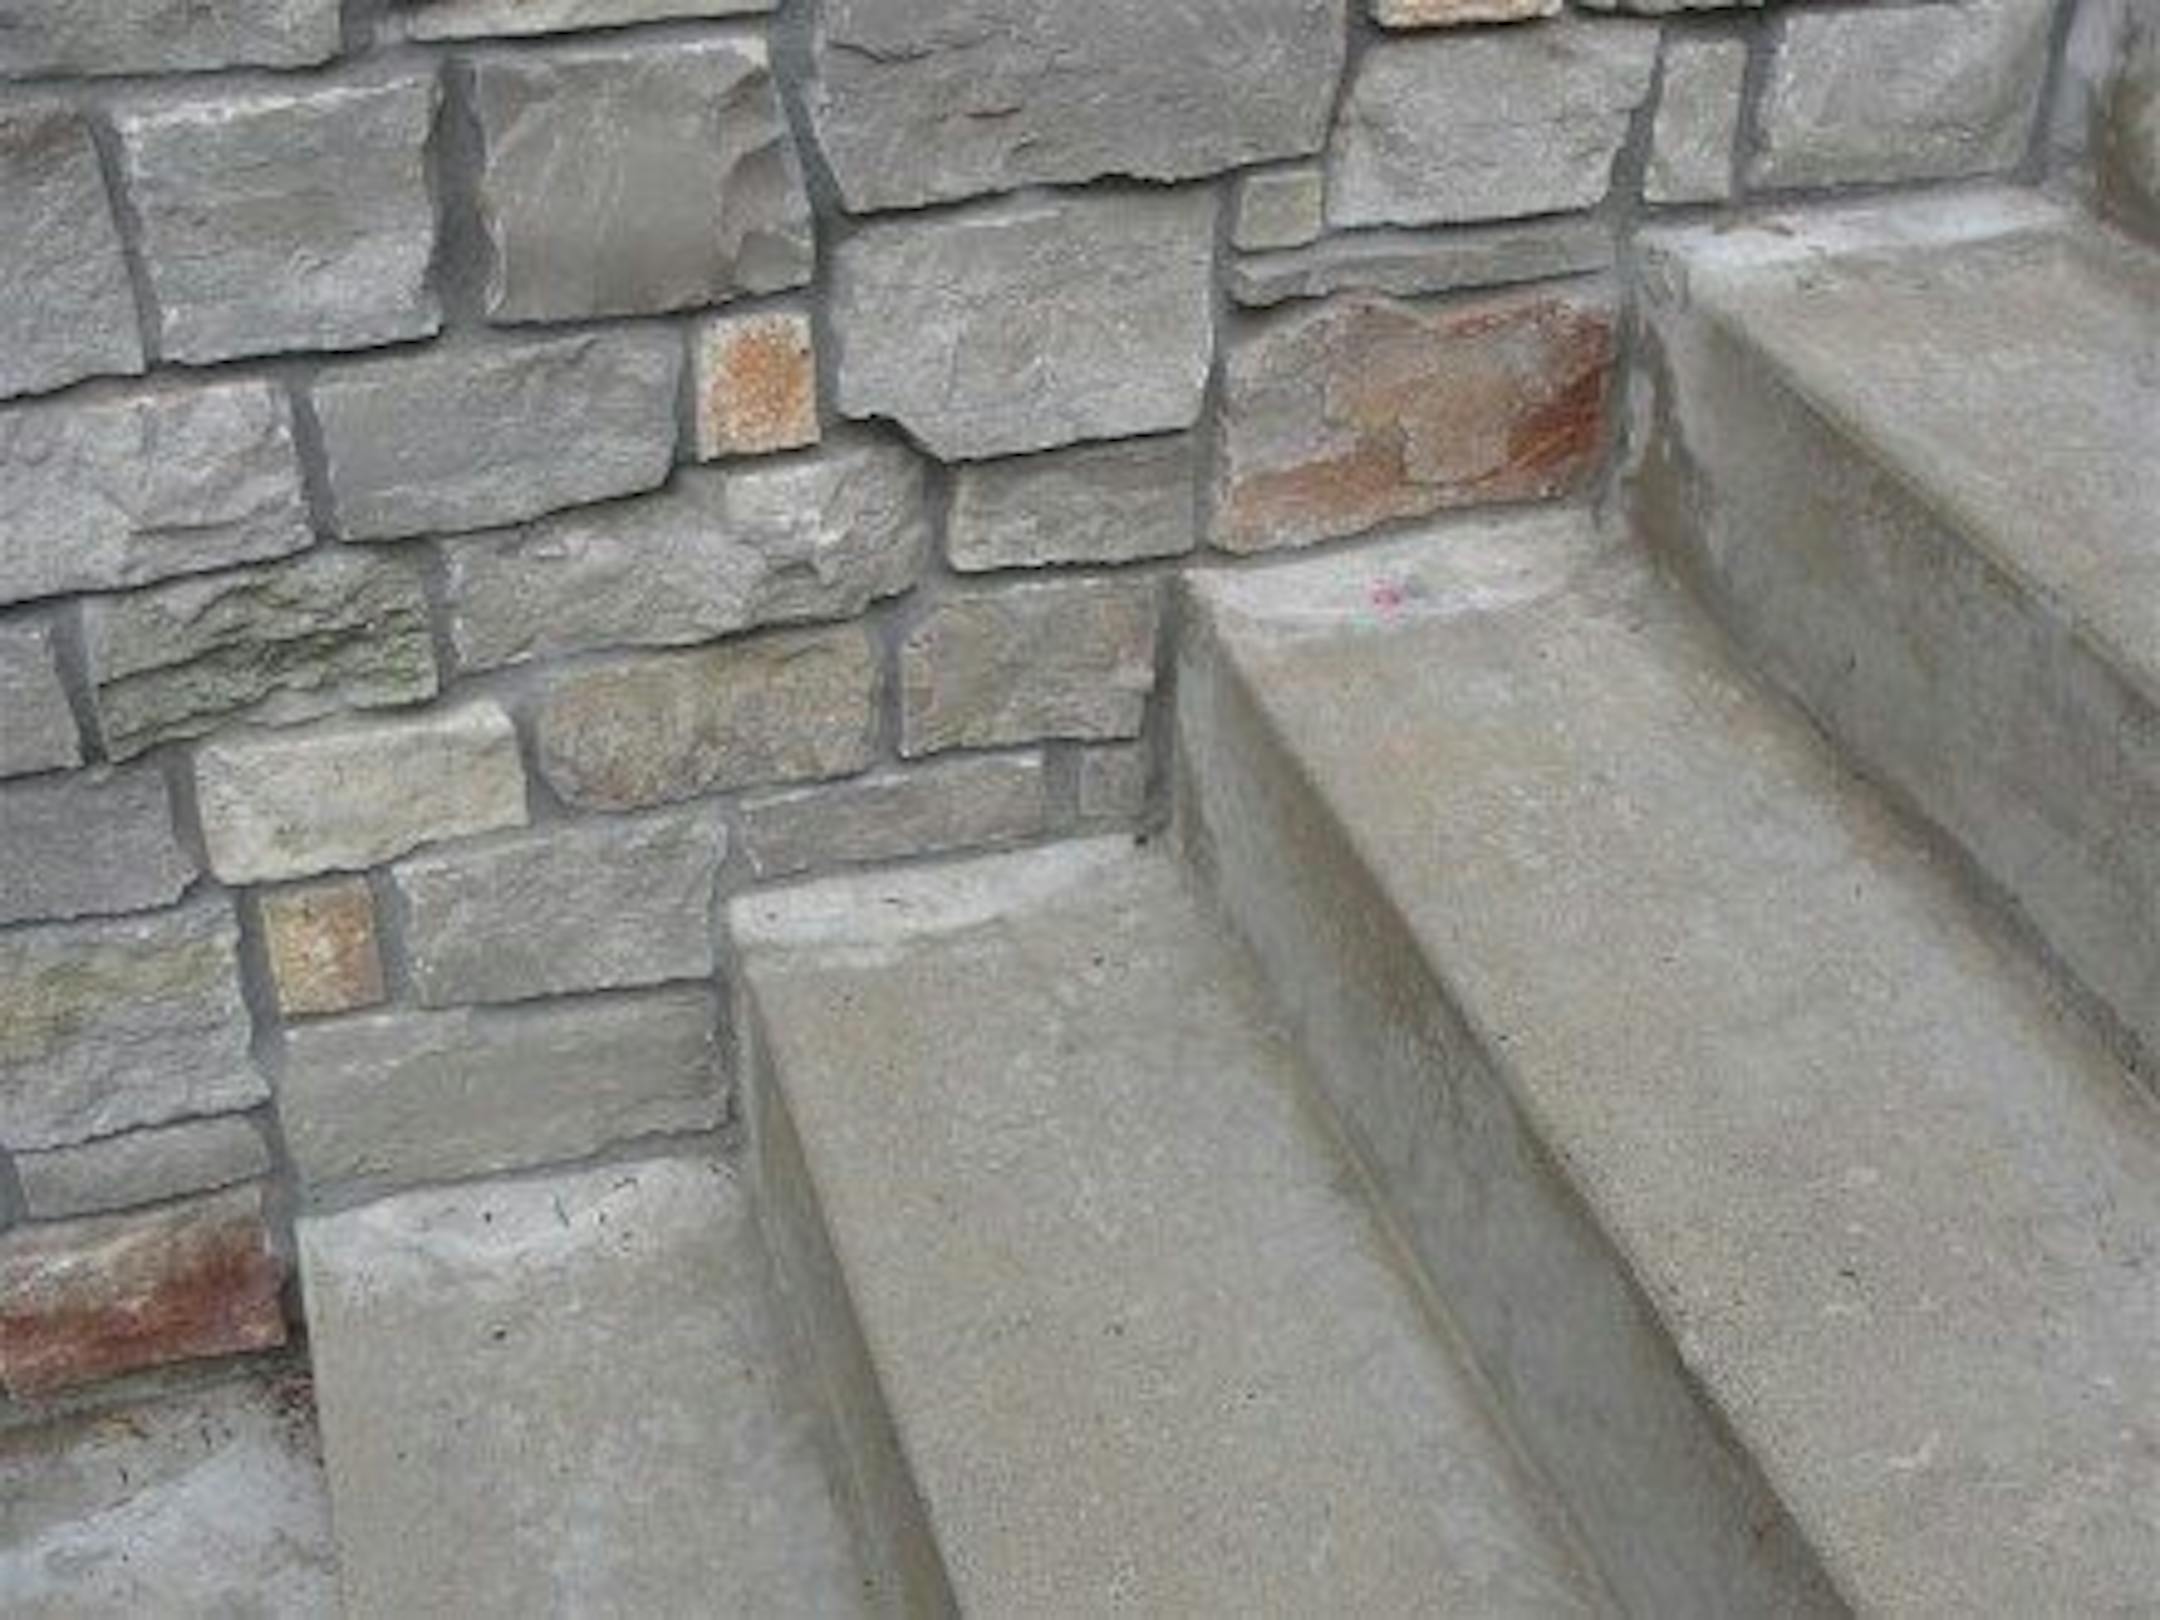
Masonry veneer should be kept at least 2" above hard surfaces, such as concrete, and 4" above the soil.
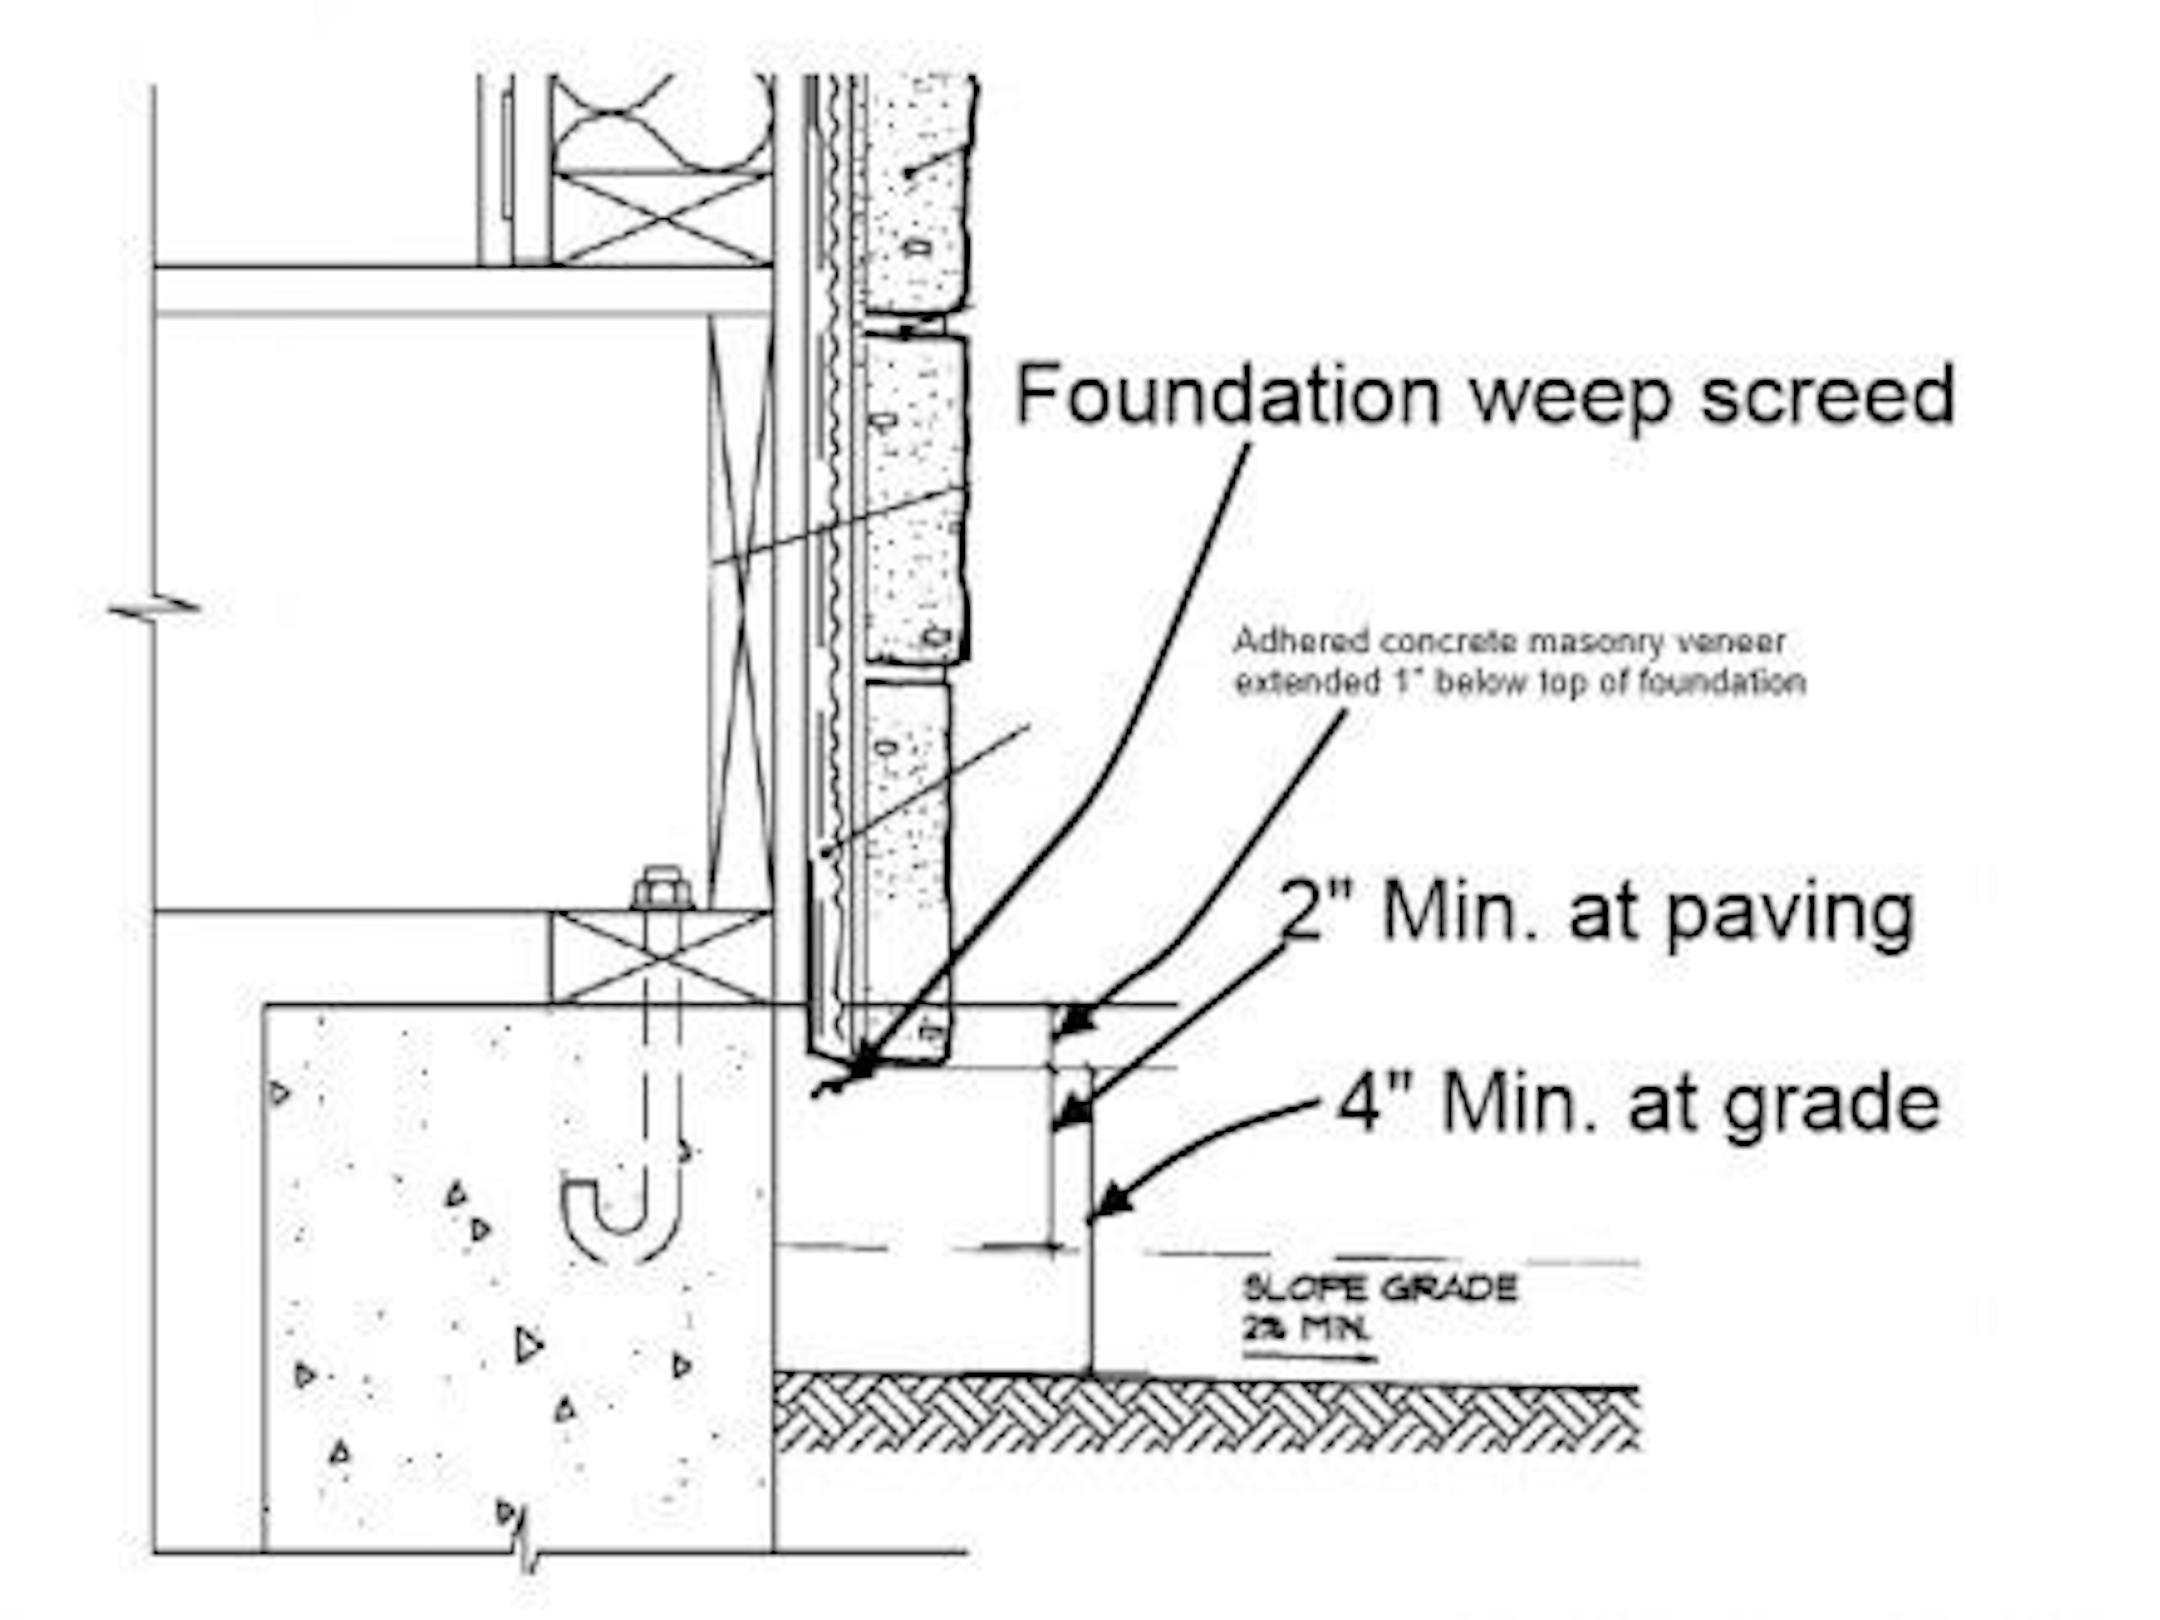
When the material is buried in dirt, water can wick up in to the material and cause rotting at the wall.
There should also be a 2" gap to paving, but this is rarely done - especially on columns.
Of course, leaving a 4" gap at the ground isn't the prettiest looking thing in the world, but there is a solution; simply have the weep screed terminated at least 4" above the ground, and have another layer of masonry veneer installed below it, as shown in the diagram below.


